
In 2017, we rehabbed our kitchen and installed a large island with a counter-height sitting and eating area. We had some bar stools, but they were “bar” height–too tall for the new counter.
In the process of looking for stools, I eventually decided that I could build something that we would like as well or better than what we saw on sale. And so I did.
The whole process from idea to finished stools took more than four months–although part of that was due to neglect on some of the final steps.
First I Needed a Design
With the help of Pinterest I collected stools that I liked and started to develop two types of criteria. First: what we wanted for our kitchen. Second: what I needed to be able to build an attractive and useable stool.
I found a stool that we liked which was offered commercially in wood and with some differences in back and seat from what we wanted. Using that as a model for the basic dimensions and angles, I put together drawings and started to work out detailed specs for each piece.
Planning to Build
Once I had the design, I started to think about how to build four stools that would all look the same. I had honed my skills in measuring and cutting metal tube consistently on a previous furniture project where I made two matching end tables. But all those angles had been 90°! For this project I had pieces with various shallow angle cuts from 4.5° to 13° and few of the connections between pieces would be square . For the angled back support, I had two measured cuts abutting each other, so if either was wrong on any one of the stools, you’d notice when the four finished stools were lined up next to each other at the counter.
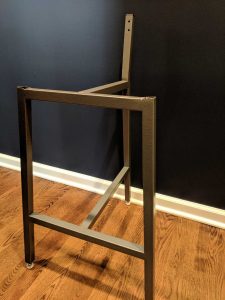
Next I realized that I’d need a way to hold the pieces in place while I joined them with welds. The normal clamps and magnets used for 90° corners weren’t going to cut it. So the first thing I had to build was a jig that I could anchor all the parts to before I started. And of course the jig had to get all the angles right as well. So that took more design. Building the jig took about 9 hours (three sessions at ciadc.com). It consists of steel angle iron stock with blocks of tubing attached as “stops” for the stool pieces. All of this was MIG welded.
Prototype
Once the jig was done, I cut all the pieces for one stool and started to fit them together. In the process, I found one error in my calculations. Fortunately it required a piece to be shorter than I had planned, so it was an easy fix.
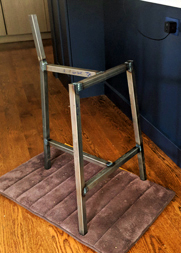
Then I built the first stool, using a TIG welder. Once I finished all the welds for this first stool, I realized there was one aspect of the design I hadn’t closely examined. With everything welded together, I wasn’t sure that I’d be able to separate the finished stool from the jig! Fortunately, it popped free with just a little elbow grease. The photo at right shows the prototype fresh off the jig. You can still see the rough welds.
Once I had this prototype frame, I cut potential seat designs from 3/4″
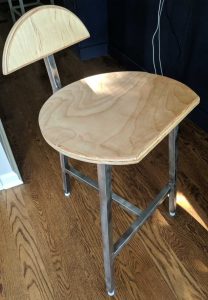
plywood. One was a simple circle, but the one I liked better was a larger circle squared off at the front. While the model chair I’d seen online used a short, wide rectangle for the back, I was more interested in carrying the curve of the seat into the back rest as well. I hit on the idea of using a small section of a circle. While the size is not exactly the same, the seat and back look like they could form a complete circle when put together. With these attached, I had a final prototype that we could actually sit in and use for a few days to ensure that it would meet our needs.
Building
With all the design elements and measurements confirmed and the construction process established, I was ready to build additional stools so that we would have four matching pieces when finished. This build process took the better part of a full work week which I accomplished during an “Intensive” class at the same shop where I did all the metal and woodworking work: the Chicago Industrial Arts and Design Arts Center (ciadc.org).
I focused closely on making each stool identical to the others. Along the way, I wound up remaking two of the 24 total pieces. One was because the original piece was too different from the others it was supposed to match. One was because I did a poor job aligning the pieces properly during welding and got the back rest angle wrong. In any case, all 24 pieces were cut, attached to the jig, welded, ground smooth and wire brushed to ready them for painting by the end of the week.
Finishing
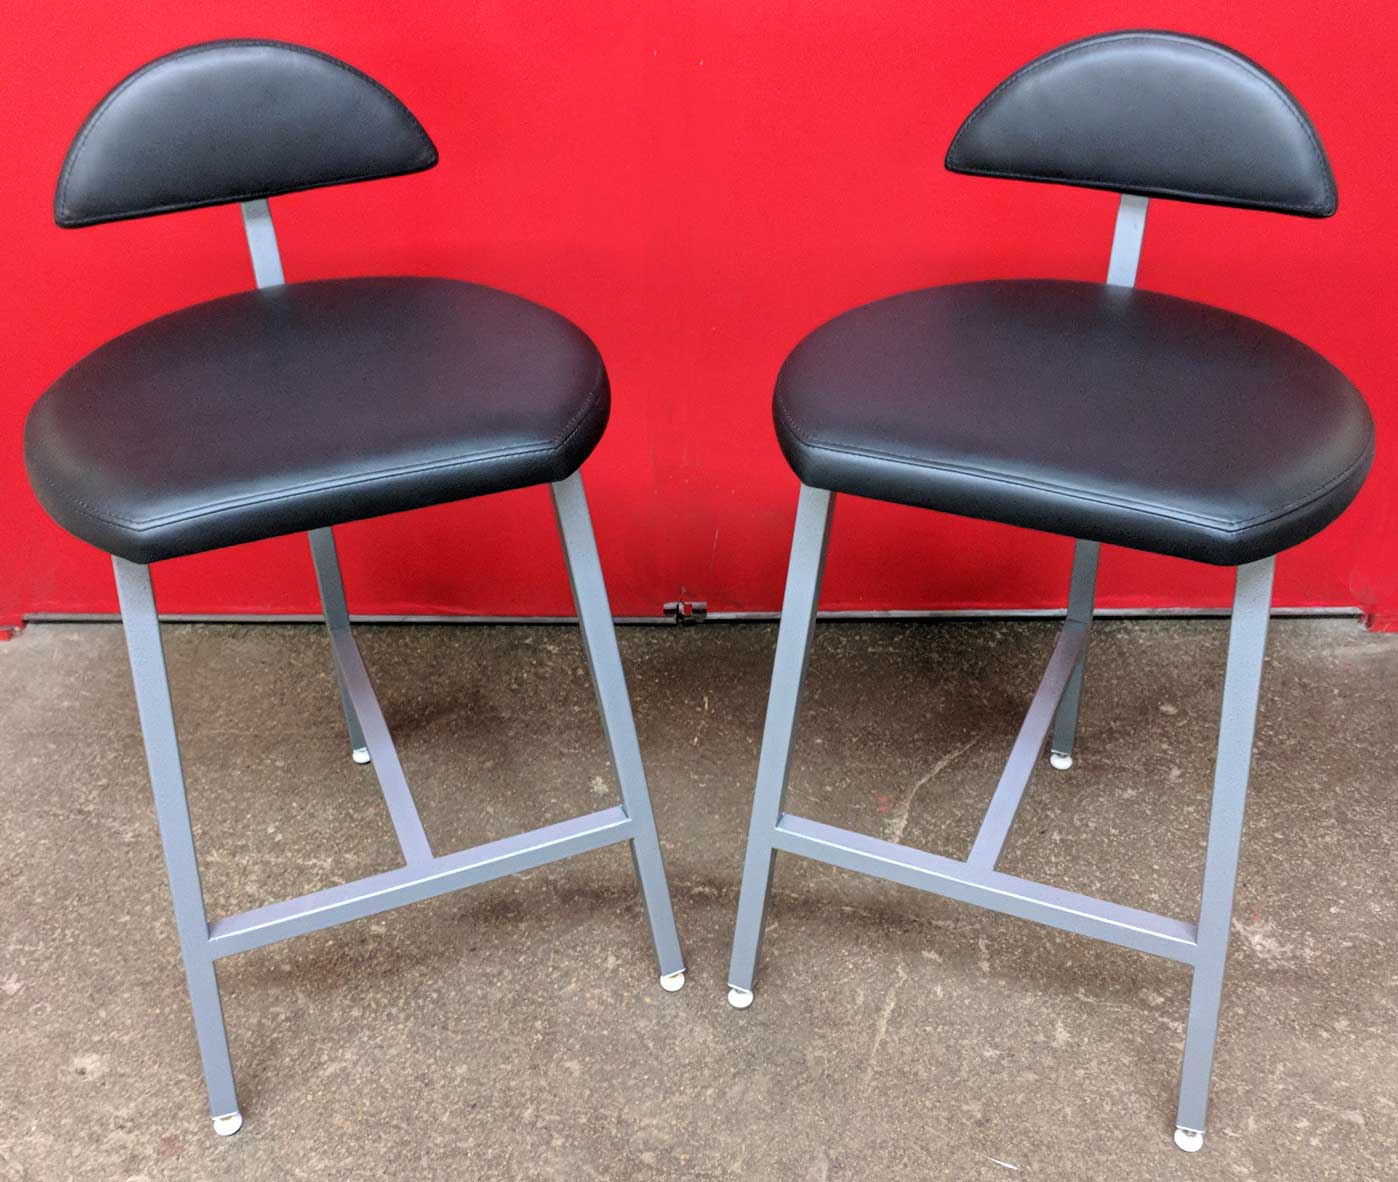
While wire-brushed steel has a certain attraction, it wasn’t quite what I was looking for. And my wife–having sat on the wood seat of the prototype for a few days–was interested in upholstered (and padded) seats. To get these things done, I called on the expertise of outside organizations for powder
coating the frames and then upholstering the wood forms I made for the seats. (Note: powder coating is basically painting that uses electricity to attract the paint/pigment to the metal and then bakes it on for a durable finish.) Both turned out really well, I think and resulted in finished stools that we are very happy with.